| Depot > OO Scale Products > OO Scale Decals
Scale OO Model Tram Decals
 Model Tram Decals
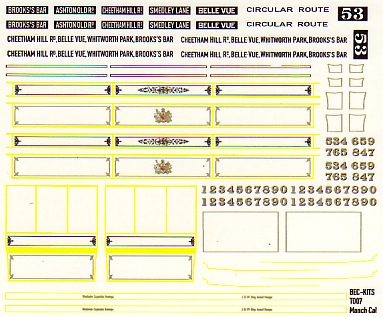
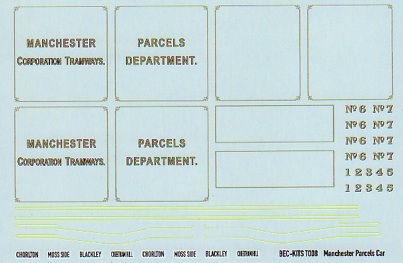
BEC-KITS supply some sets of OO-scale decals for 1:76 scale British trams.
At present, the following two ranges are available:
 BEC-KITS Decals
 Tower Trams Decals
| Picture |
Part Number |
Description |
Availability
 = Yes
= Yes
 = No = No
 = Made to order = Made to order |
Price |
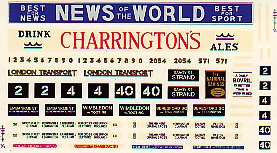 |
TT07 |
London Transport (E/1, News of the World/Charringtons) |

|
£2.75 |
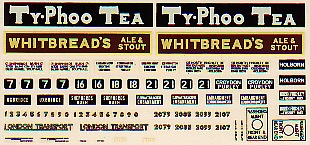 |
TT08 |
London Transport (Feltham, Typhoo/Whitbread's) |
 |
£2.75 |
 |
TT13 |
London Transport ('Cissie', Black & White) |
 |
£2.75 |
 |
TT14 |
Sunderland ('Cissie', Binns/Clegg's) |
 |
£2.75 |
 |
TT19 |
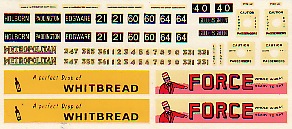
Metropolitan (Feltham & 'Cissie',Whitbread/Force) |
 |
£2.75 |
 |
TT20 |
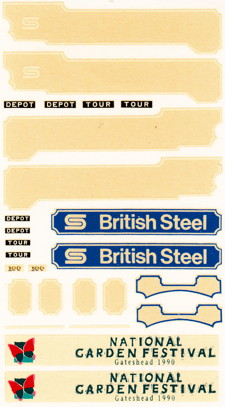
Gateshead 1998 ('Cissie',British Steel/National Garden Festival) |
 |
£2.75 |
 Applying decals
The decals are water-slide transfers. They are printed on gummed paper and
have a layer of varnish underneath or over the printed layer. The layer of
varnish may cover the complete sheet, so the decals are not separate items. If
you are not used to applying these decals, you may wish to practice using one
of the spare items that you do not require. In particular, you should test any
varnish product you apply to the decals before using it on the finished tram
model. Extra copies of most items are included to allow for mistakes. Please
check all solvents and varnishes on spare decals before using them on your
actual model. To apply the decals, the following steps are recommended:
- Obtain a colour photograph of the tram you wish to model so that you can
see where the transfers should be placed.
- Cut round each decal item required, close to the edge of the piece of
artwork, particularly if the decal fills the whole area of a part on the
tram.
- Using some slightly warm clean water, soak the decal. This will take
about 30 seconds. At first the backing causes the decals to curl when
placed in water. As the decal absorbs water, the backing paper then
uncurls.
- Now very gently test to see if the decal will slide about on the backing
paper. If not, then soak it a little longer. You want the decal just to
begin to slide on the backing paper. This will give the decal the maximum
amount of glue on its back.
- Slightly wet the area on the model where the decal will be going, using
clean water and a paintbrush to make it easier to float the transfer into
the correct position. Then slide only the edge of the decal off the backing
paper onto the correct position on the model. Then, holding that edge of
the decal, slide the backing paper out from under the decal, letting the
decal lay down onto the model. You can use tweezers to grip the underlying
paper.
- The wet paint brush may be useful to stroke gently the wet transfer into
the correct position. You may have wrinkles in the decal but they can be
smoothed out since the model surface is wet. If the decal edge curls under
once it is off the paper, you can flood the area with water and slide a
straight pin under the decal and then slide the pin in the direction of the
fold, using the side of the pin to uncurl the decals.
- Once the decal is positioned correctly, the excess water can be soaked up
with a dry paint brush, tissue paper, a Q-tip bud, etc. Then allow the
decal to dry completely.
- After the decal has been applied to the model, if desired you can use a
decal setting solution such as Solvaset to help the decal conform to the
surface detail of the model, following the directions that come with the
decal setting solution.
- If desired, the whole model may be varnished to seal the transfers and
paint finish. Usually an acrylic varnish is better than a solvent-based
varnish.
| Depot | News | Products | How to buy | Contact us | Links |
Copyright © 1997-2023 BEC-KITS. All rights
reserved. Last updated on 2023-06-03 by
BR.


